Show watermark on your image
Watermarks help protect your images by adding a logo, text, or signature overlay. This guide shows you how to upload and manage watermarks in your PixelFiddler space.
Adding a new watermark
Section titled “Adding a new watermark”Step 1: Navigate to watermarks
Section titled “Step 1: Navigate to watermarks”- Log into your PixelFiddler dashboard
- Select your space from the sidebar
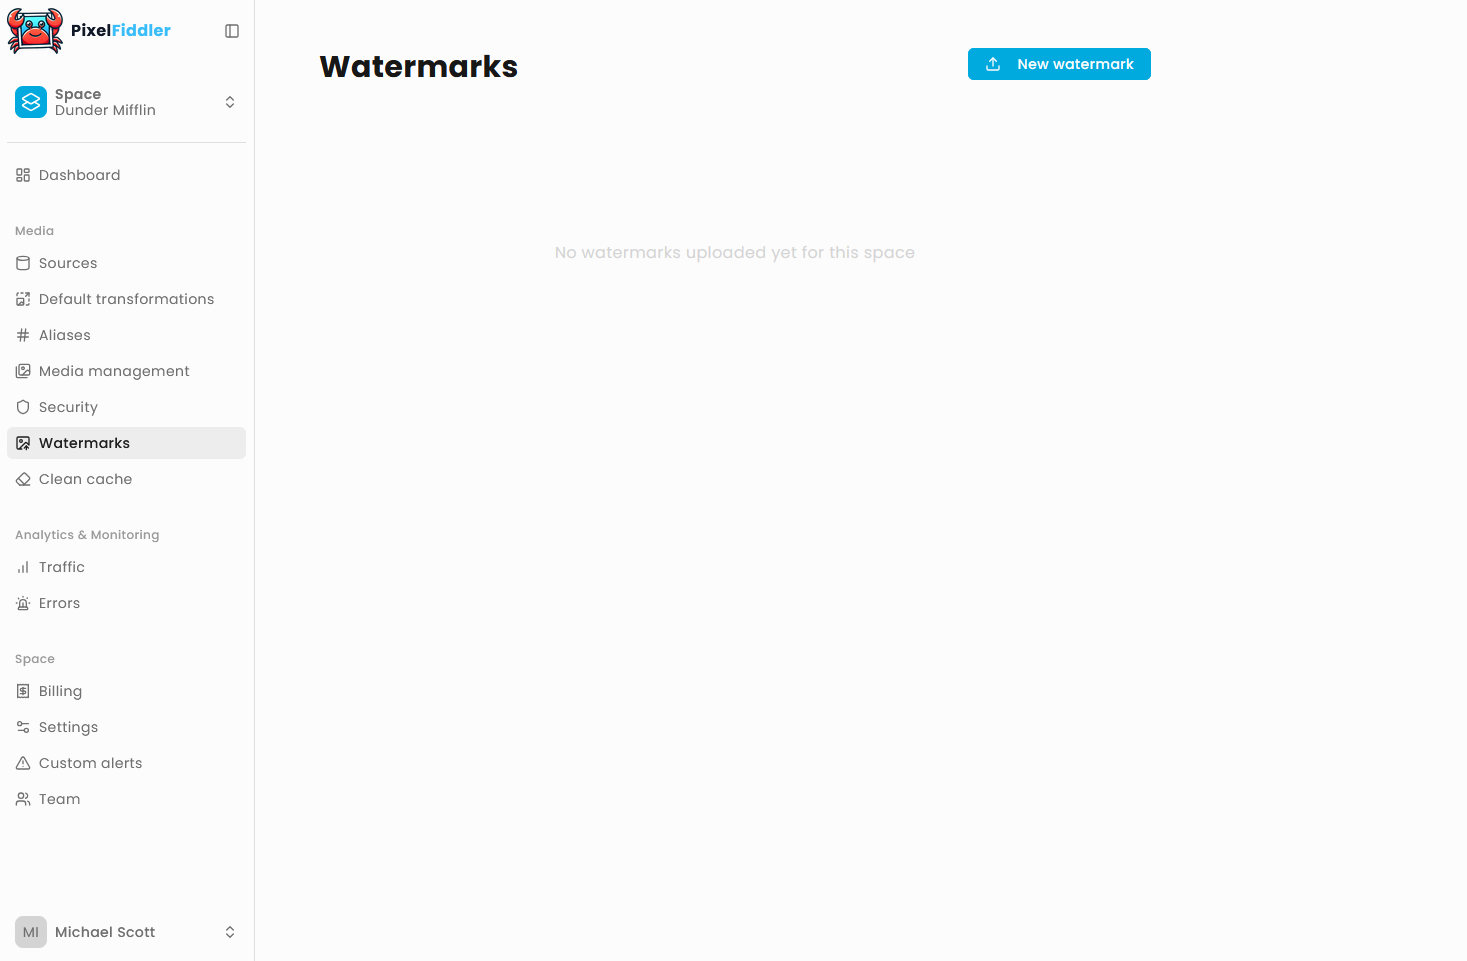
- Under the Media section, click Watermarks
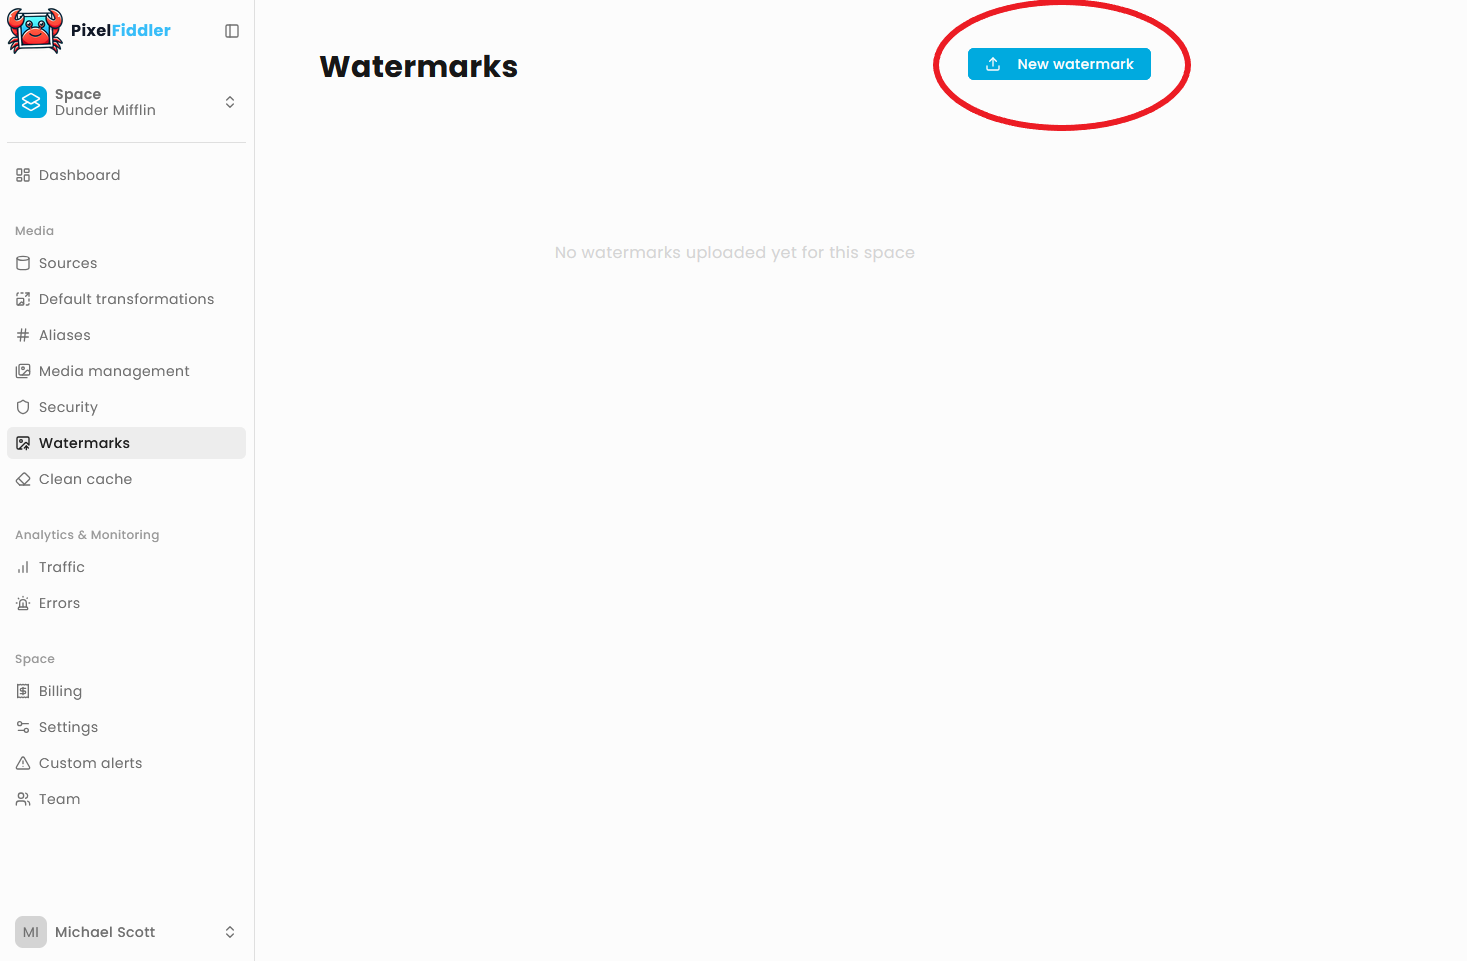
Step 2: Upload your watermark
Section titled “Step 2: Upload your watermark”- Click the New watermark button
- In the upload dialog:
- Enter a Name for your watermark (this will be used to reference it later)
- Upload your image file by either:
- Dragging and dropping the file into the upload area
- Clicking “click to select files” to browse your computer
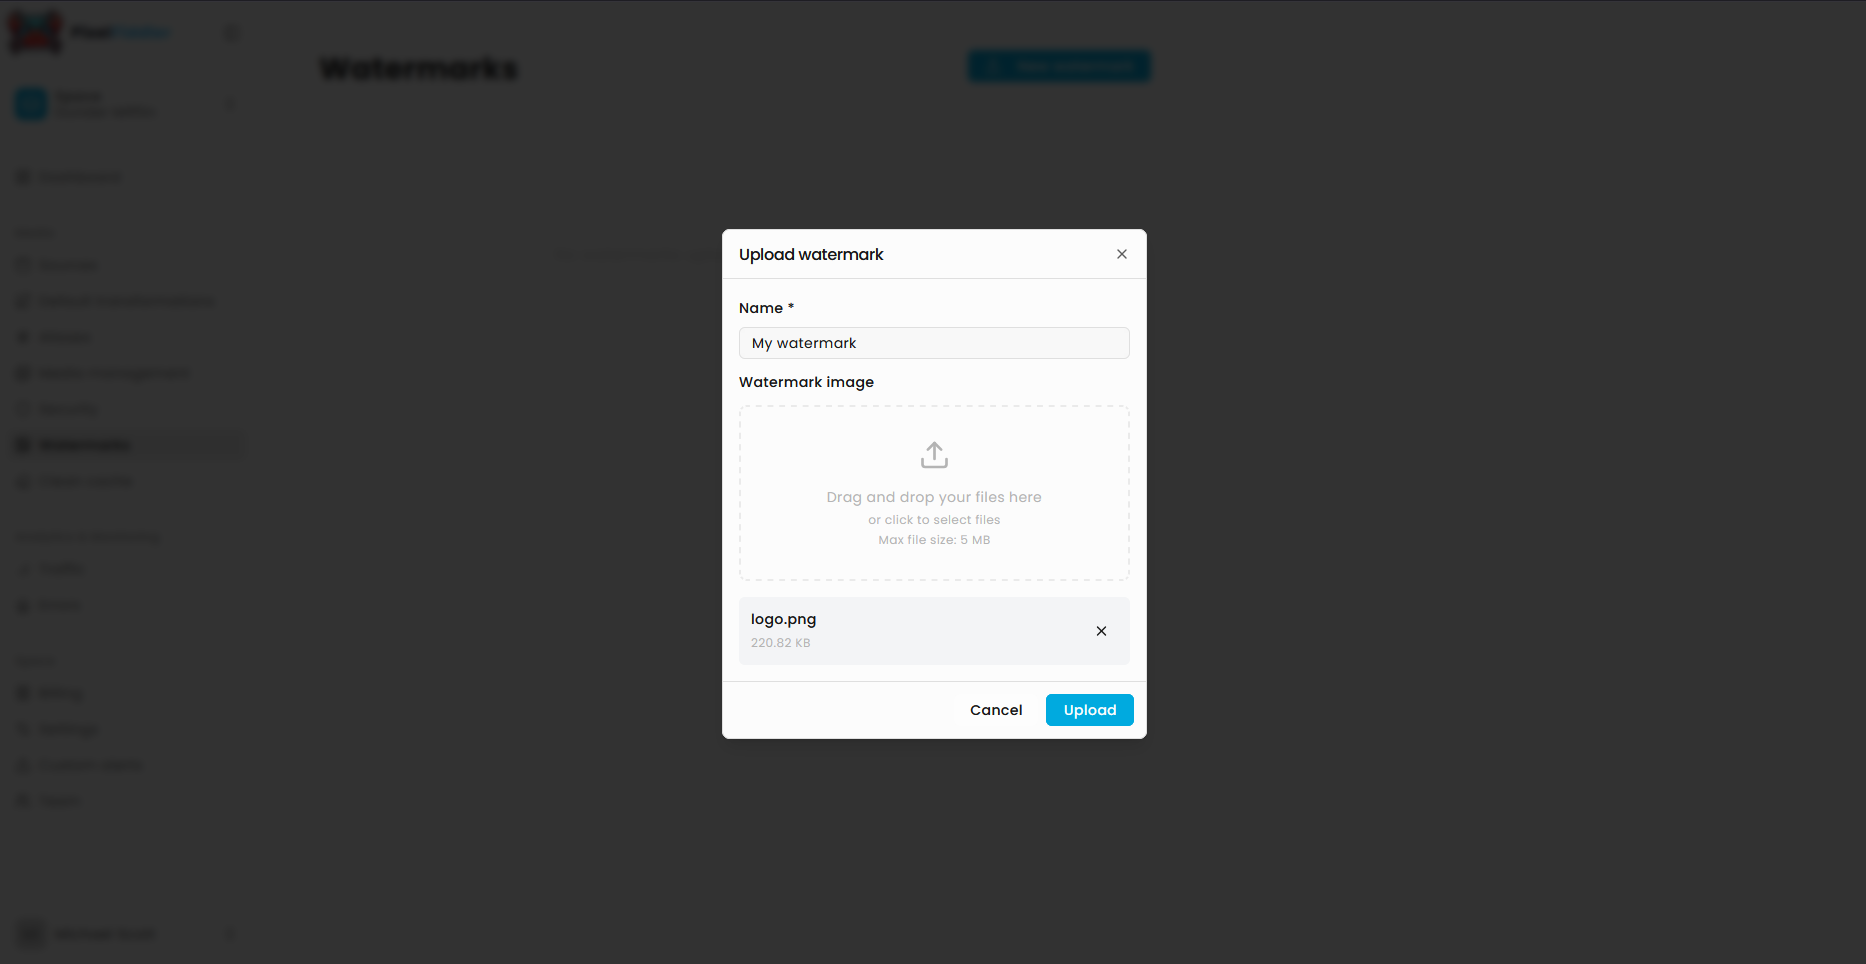
- Click Upload to save your watermark
The watermark will be processed and added to your collection.
Linking your watermark
Section titled “Linking your watermark”Once you’ve uploaded watermarks to your space, you can apply them to your images through default transformations, custom aliases or query params.
Adding Watermarks to Default Transformations Default transformations are applied to all images in your space unless overridden by specific parameters.
Step 1: Navigate to default transformations or aliases
Section titled “Step 1: Navigate to default transformations or aliases”
Step 2: Enable Watermark
Section titled “Step 2: Enable Watermark”- Scroll down to the Watermark section
- Toggle the watermark switch to ON (blue)

Step 4: Select Your Watermark
Section titled “Step 4: Select Your Watermark”- Click the Select watermark button

- In the dialog that appears, choose from your uploaded watermarks
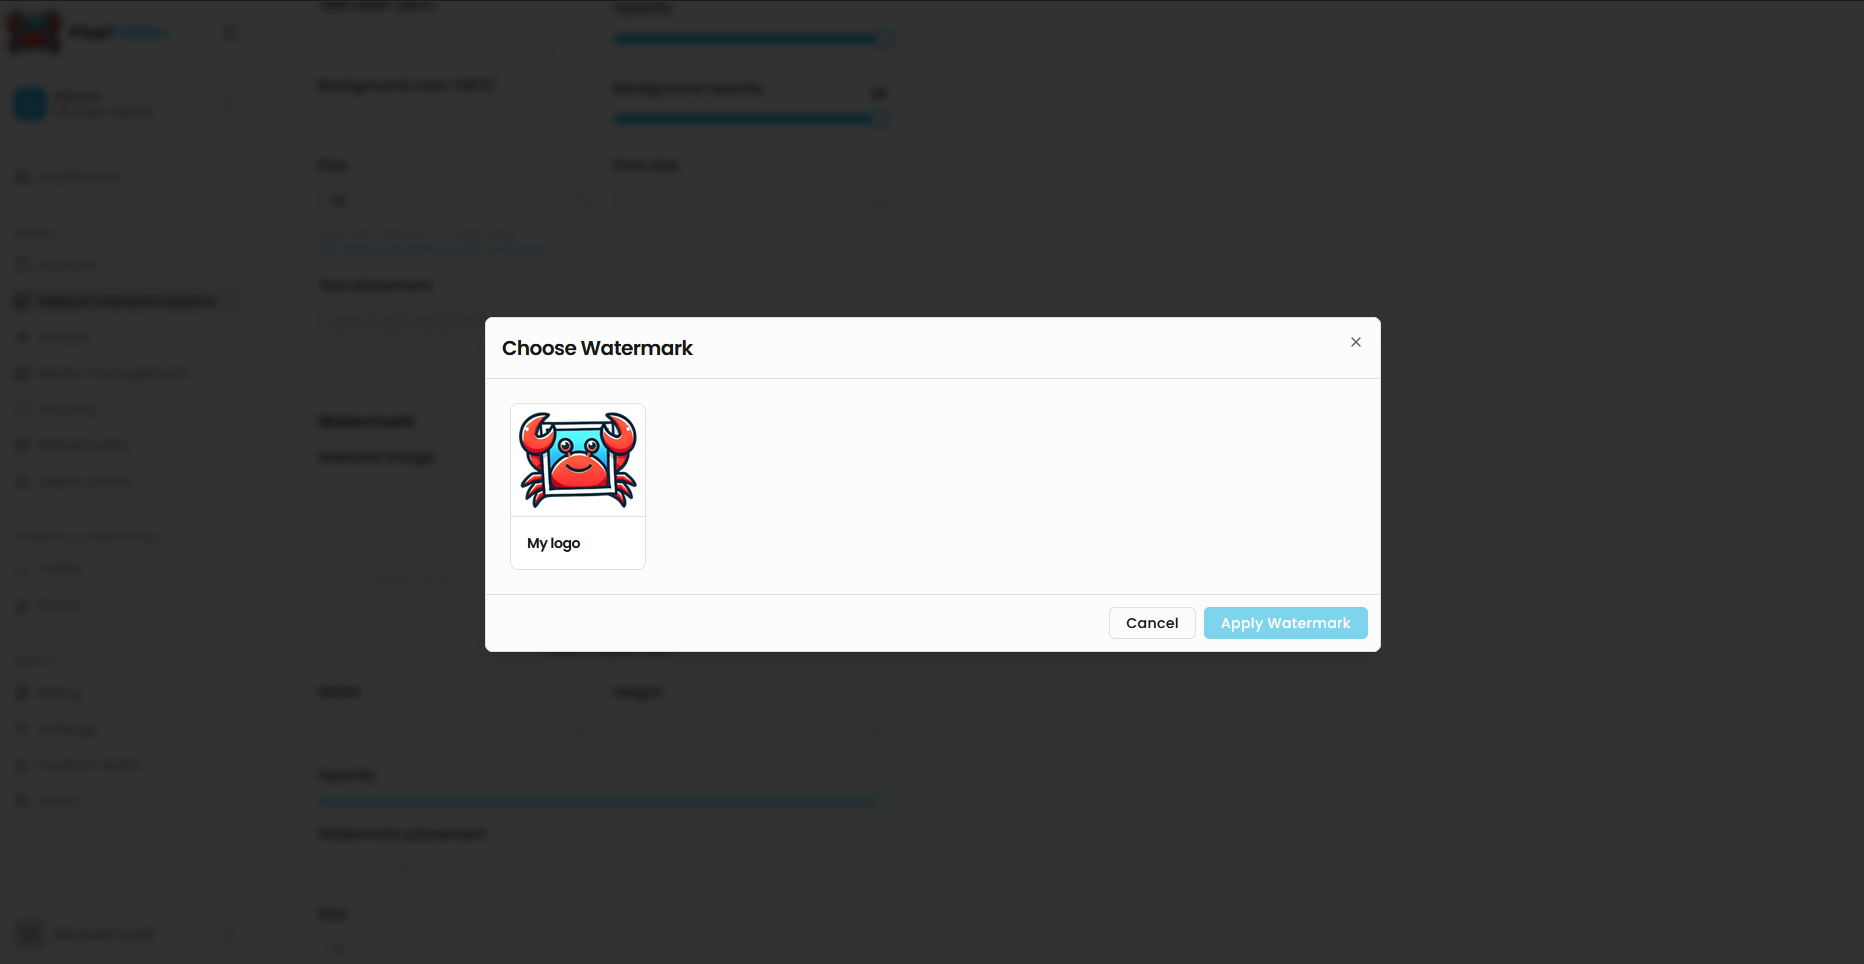
- Click Apply Watermark to confirm your selection
Step 5: Configure Watermark Properties
Section titled “Step 5: Configure Watermark Properties”After selecting your watermark, configure its appearance:
- Width & Height: Set specific pixel dimensions (optional)
- Opacity: Control transparency (0-100%)
- Watermark placement: Choose position on the image
- Size: Scale watermark as percentage of image size (1-100%)
Step 6: Save Your Settings
Section titled “Step 6: Save Your Settings”Click Save at the bottom of the page to apply your default transformation settings.
You should now see the watermark reflected on the preview image.
Via URL Parameters
Section titled “Via URL Parameters”You can also apply watermarks directly through URL parameters:
https://your-domain.com/sources/media/media/image.jpg?watermark=my-logo&wm.o=50&wm.g=bottom_rightYou can find the list of transformations here
Managing Watermarks
Section titled “Managing Watermarks”Viewing Your Watermarks
Section titled “Viewing Your Watermarks”Once uploaded, your watermarks appear in the main watermarks page with:
- A preview thumbnail
- The watermark name
- Management options (delete)
Deleting Watermarks
Section titled “Deleting Watermarks”To remove a watermark:
- Find the watermark you want to delete
- Click the delete icon (trash can) next to the watermark name
- Confirm the deletion
Best Practices
Section titled “Best Practices”Image Format
Section titled “Image Format”- PNG is recommended for watermarks with transparency
- JPG works well for photographic watermarks
- Keep file sizes under 1 MB when possible for faster processing
Design Tips
Section titled “Design Tips”- Use high contrast colors that work on both light and dark images
- Create watermarks at least 300x300 pixels for quality scaling
- Consider transparency/opacity in your design - you can always adjust it later
Naming Convention
Section titled “Naming Convention”Use descriptive names for your watermarks:
company-logocopyright-textbrand-signature
This makes them easier to identify and use in transformations.
Troubleshooting
Section titled “Troubleshooting”Upload Issues
Section titled “Upload Issues”- File too large: Ensure your image is under 5 MB
- Unsupported format: Use PNG, JPG, WEBP, AVIF, or GIF files only
- Upload fails: Check your internet connection and try again
Watermark Not Appearing
Section titled “Watermark Not Appearing”- Verify the watermark name is correct in your transformation
- Check that opacity isn’t set to 0
- Ensure the watermark size isn’t too small to be visible
Next Steps
Section titled “Next Steps”Once you’ve added watermarks to your space, you can:
- Set up default transformations that include watermarks
- Create aliased transformations for commonly used watermark styles