AWS S3 Bucket
This guide walks you through connecting your existing Amazon S3 bucket to PixelFiddler as a media source.
Prerequisites
Section titled “Prerequisites”Before you begin, ensure you have:
- An existing S3 bucket with your media files
- AWS account access with permission to create IAM users/policies
- Your S3 bucket name and region
Step 1: Create IAM Policy and User
Section titled “Step 1: Create IAM Policy and User”Create the Policy First
Section titled “Create the Policy First”- Open the AWS IAM Console
- Navigate to AWS IAM Console
- Click “Policies” in the left sidebar
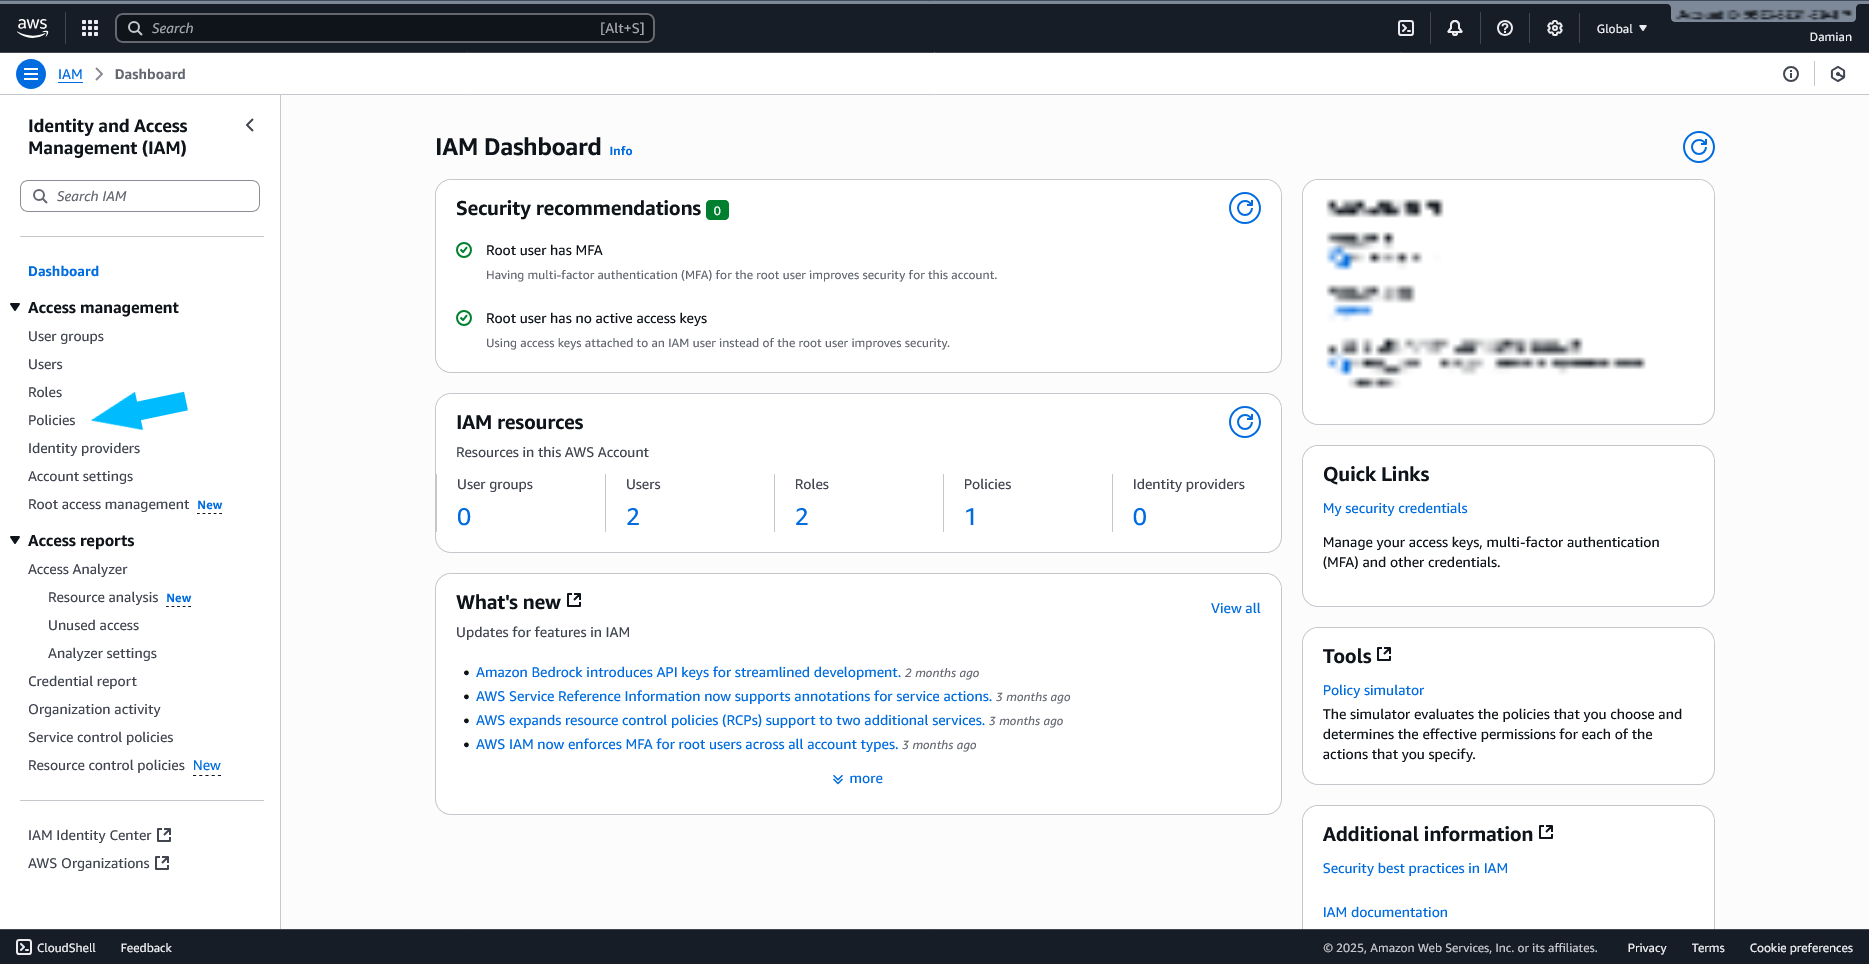
- Click “Create policy”

- Define the Policy
- Switch to the JSON tab

- Replace the default content with this read-only policy:
{ "Version": "2012-10-17", "Statement": [ { "Sid": "PixelFiddlerReadOnlyAccess", "Effect": "Allow", "Action": [ "s3:GetObject", "s3:ListBucket" ], "Resource": [ "arn:aws:s3:::YOUR_BUCKET_NAME", "arn:aws:s3:::YOUR_BUCKET_NAME/*" ] } ]}- Complete Policy Creation
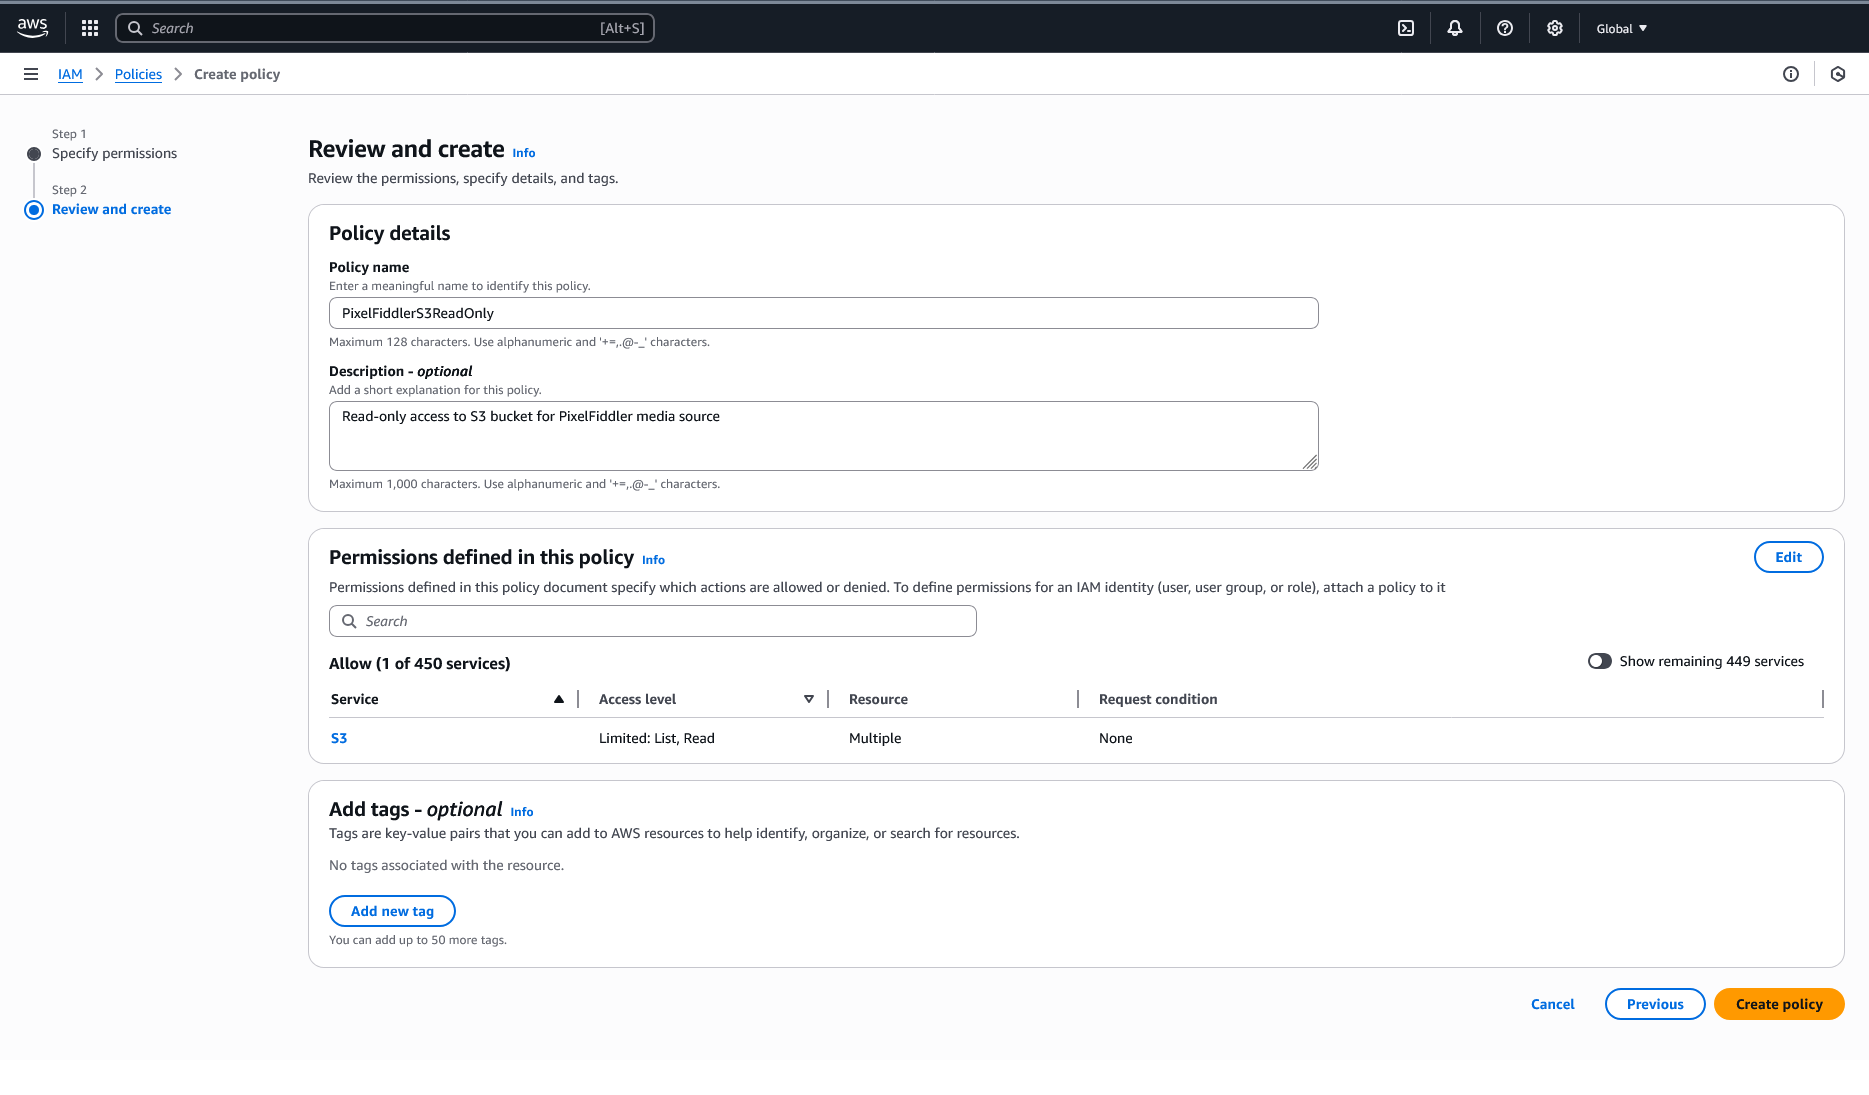
- Click “Next”
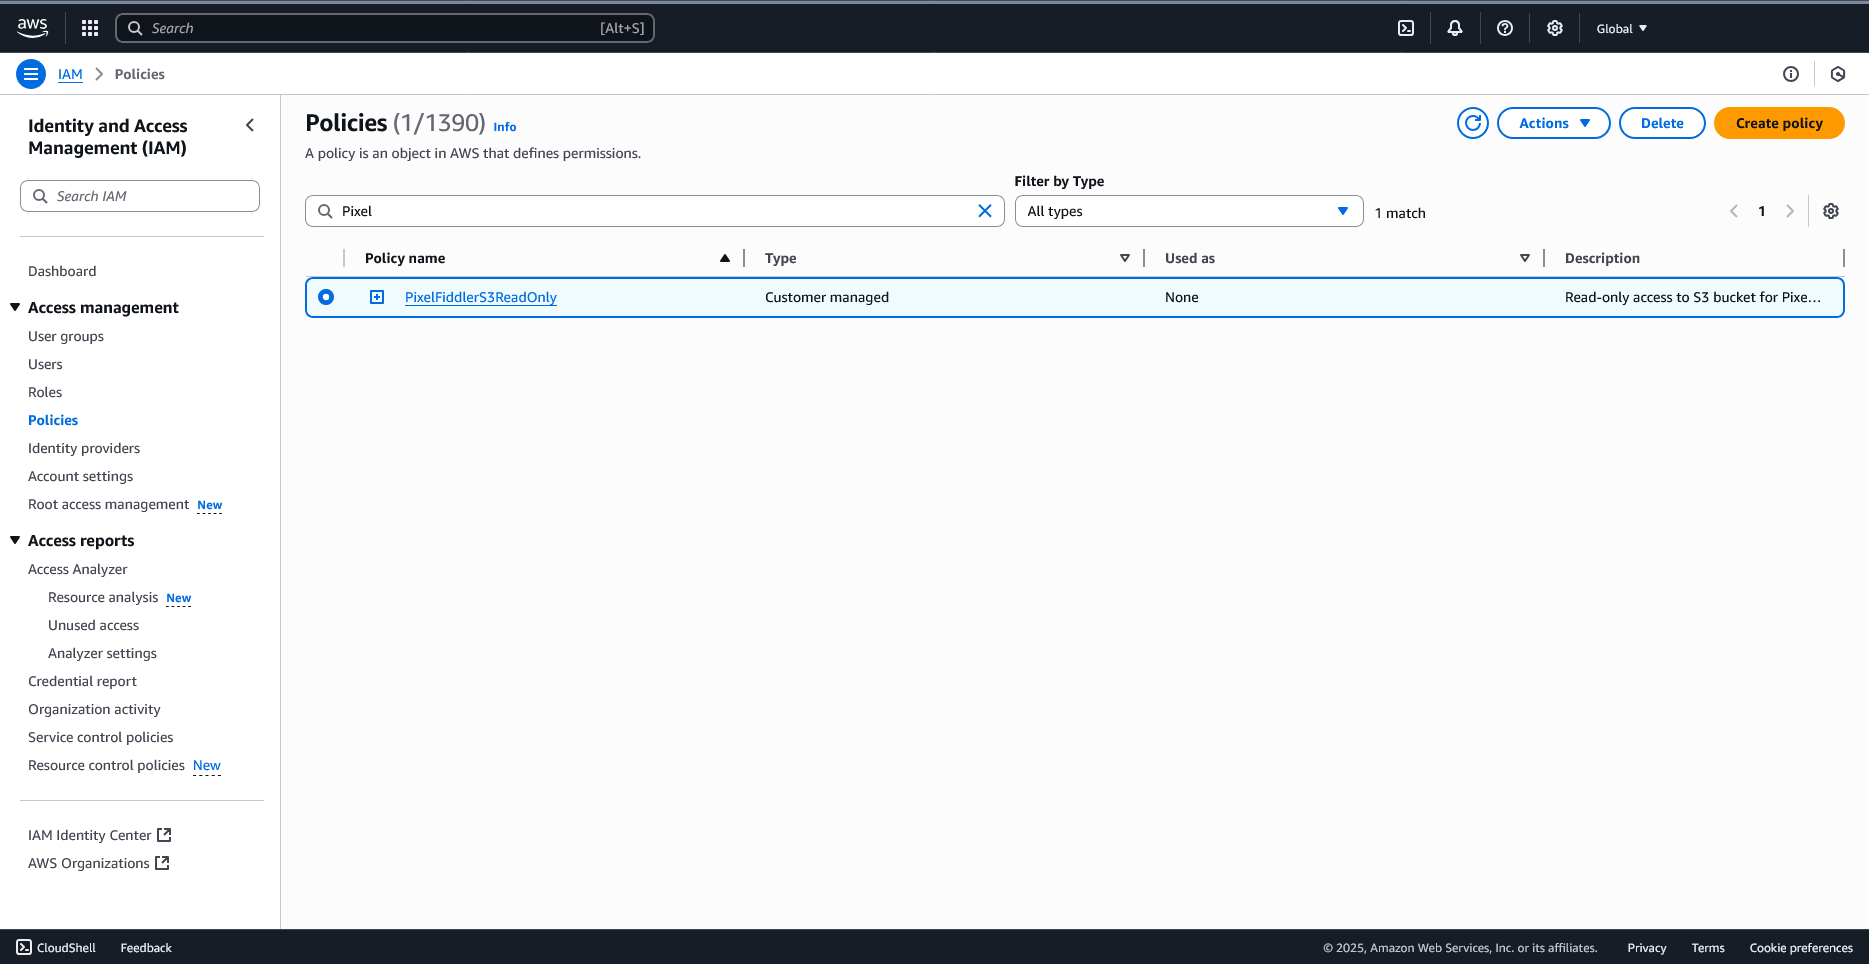
- Name the policy:
PixelFiddlerS3ReadOnly - Add description:
Read-only access to S3 bucket for PixelFiddler media source - Click “Create policy”
Now Create the User
Section titled “Now Create the User”- Create IAM User
- Click “Users” in the left sidebar
- Click “Create user”

- Enter username:
pixelfiddler-s3-readonly
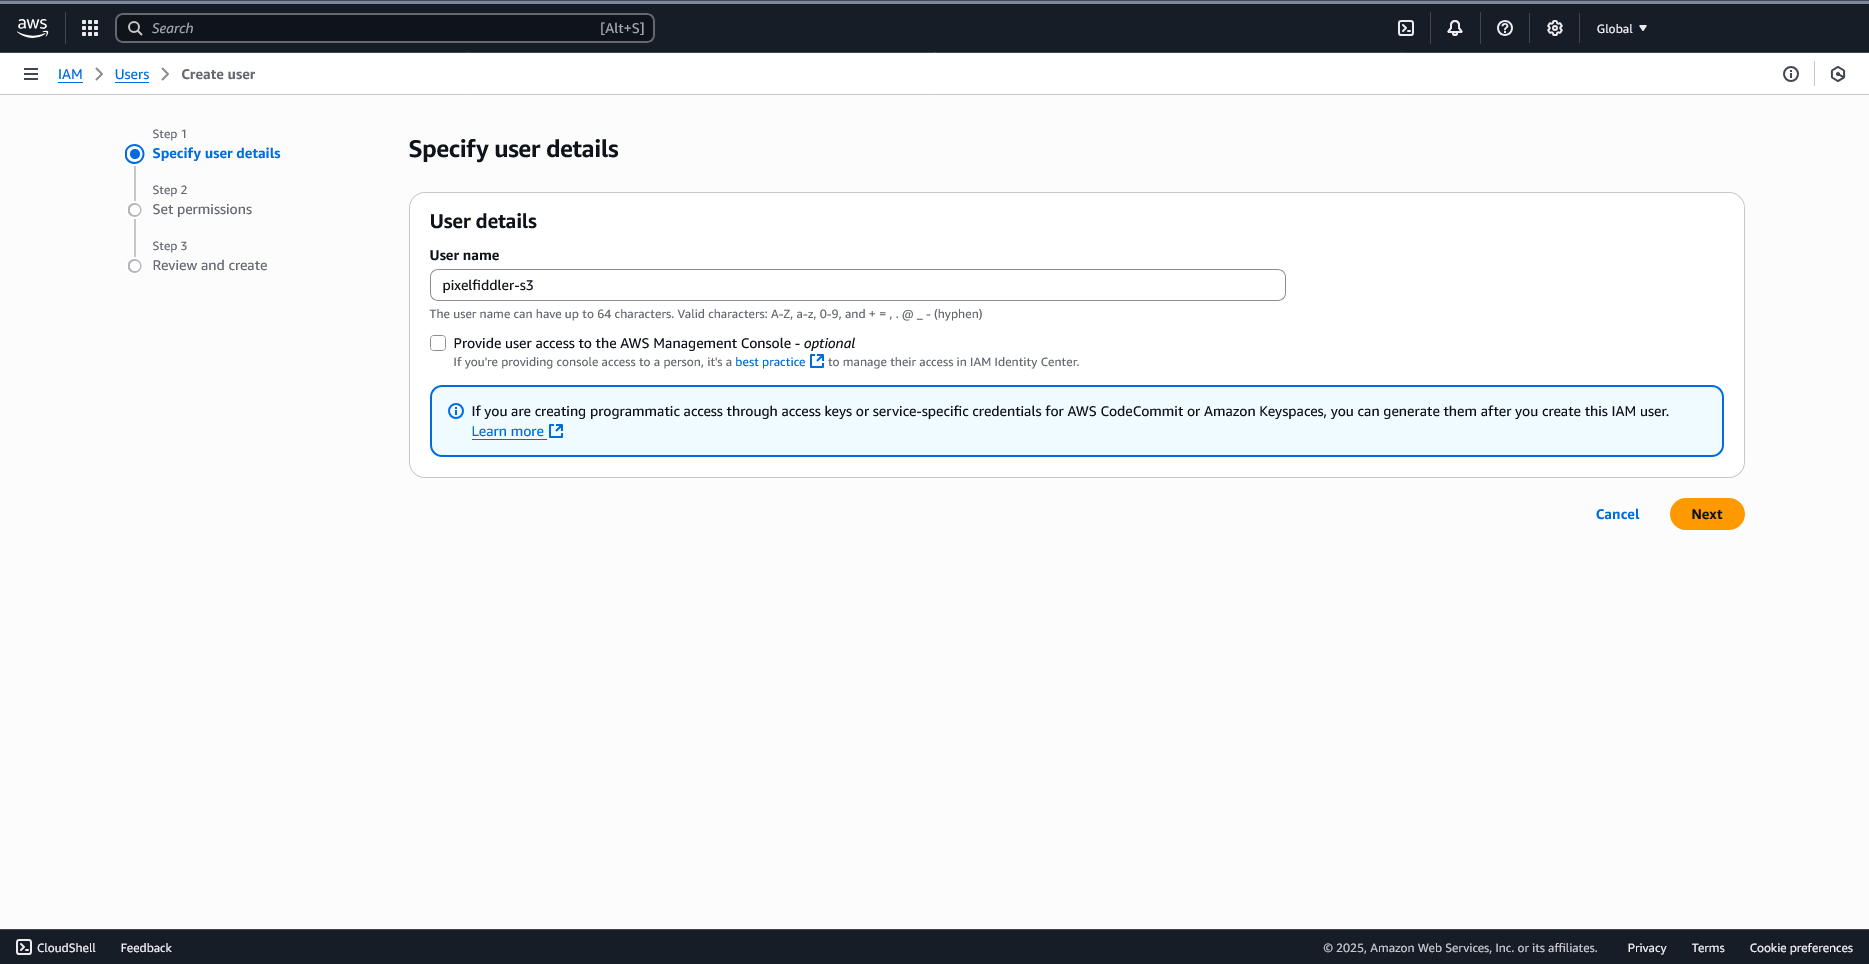
- Click “Next”
- Attach the Existing Policy
- Select “Attach policies directly”
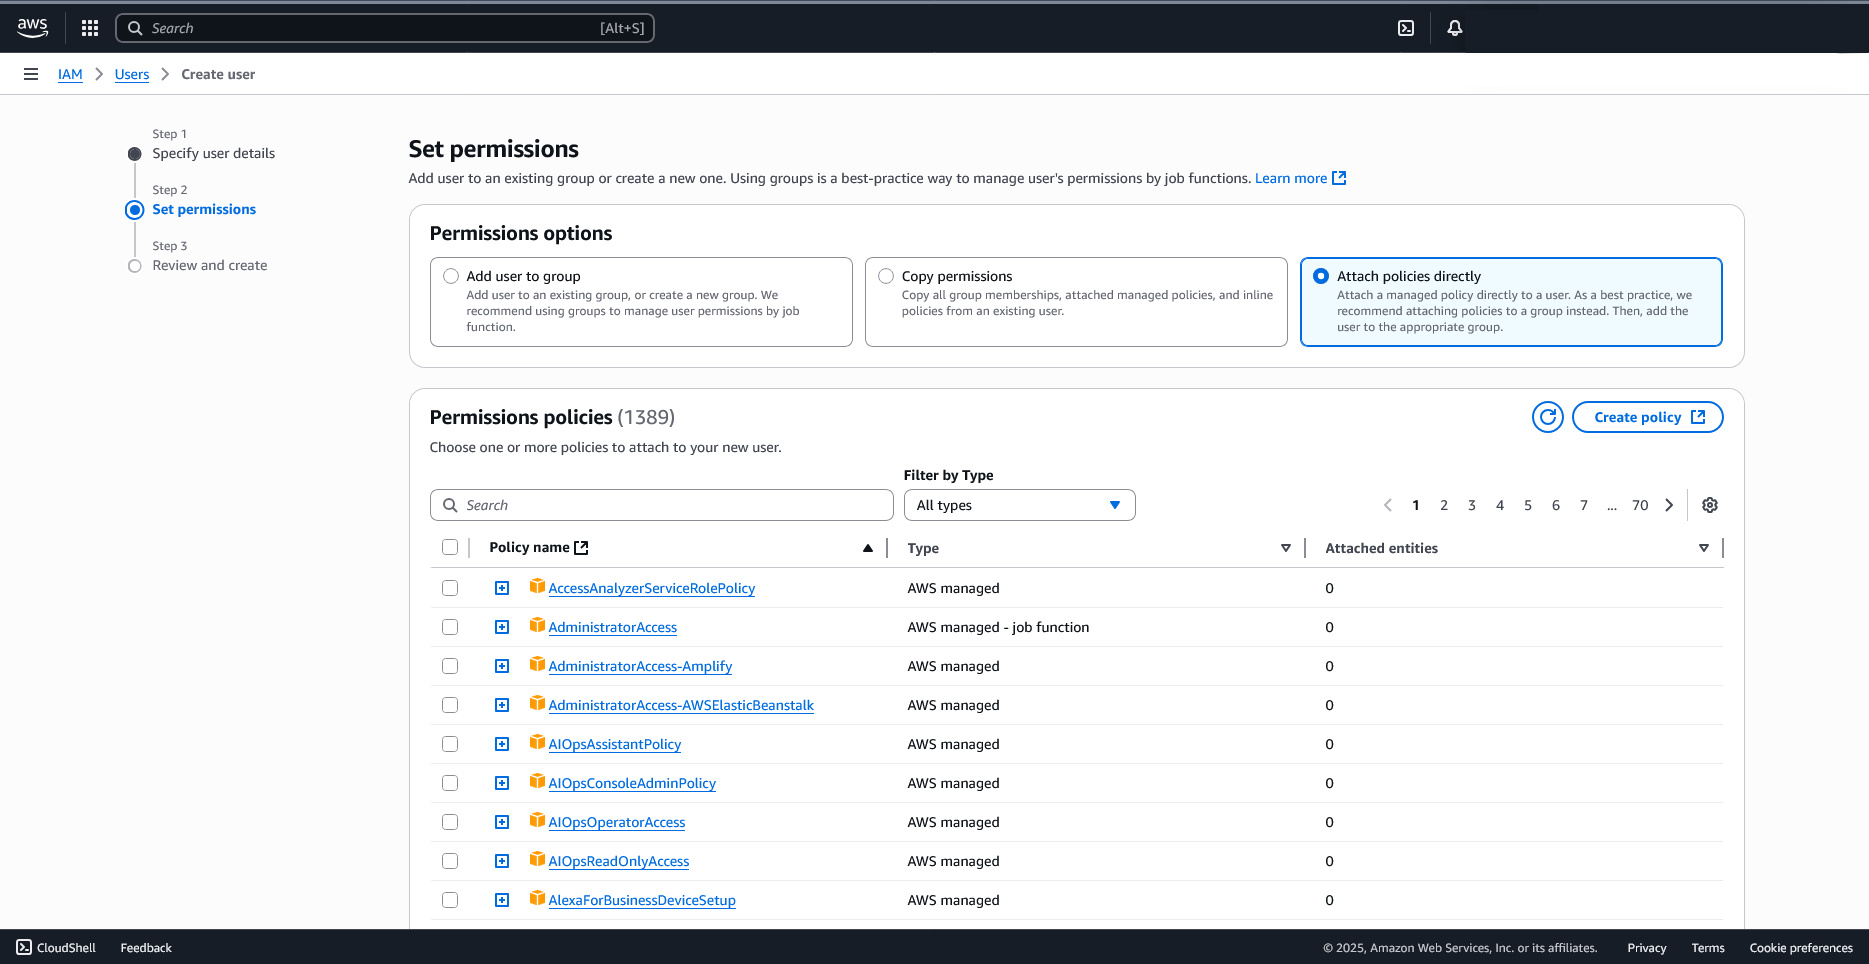
- Search for
PixelFiddlerS3ReadOnly
- Check the box next to your policy
- Click “Next”
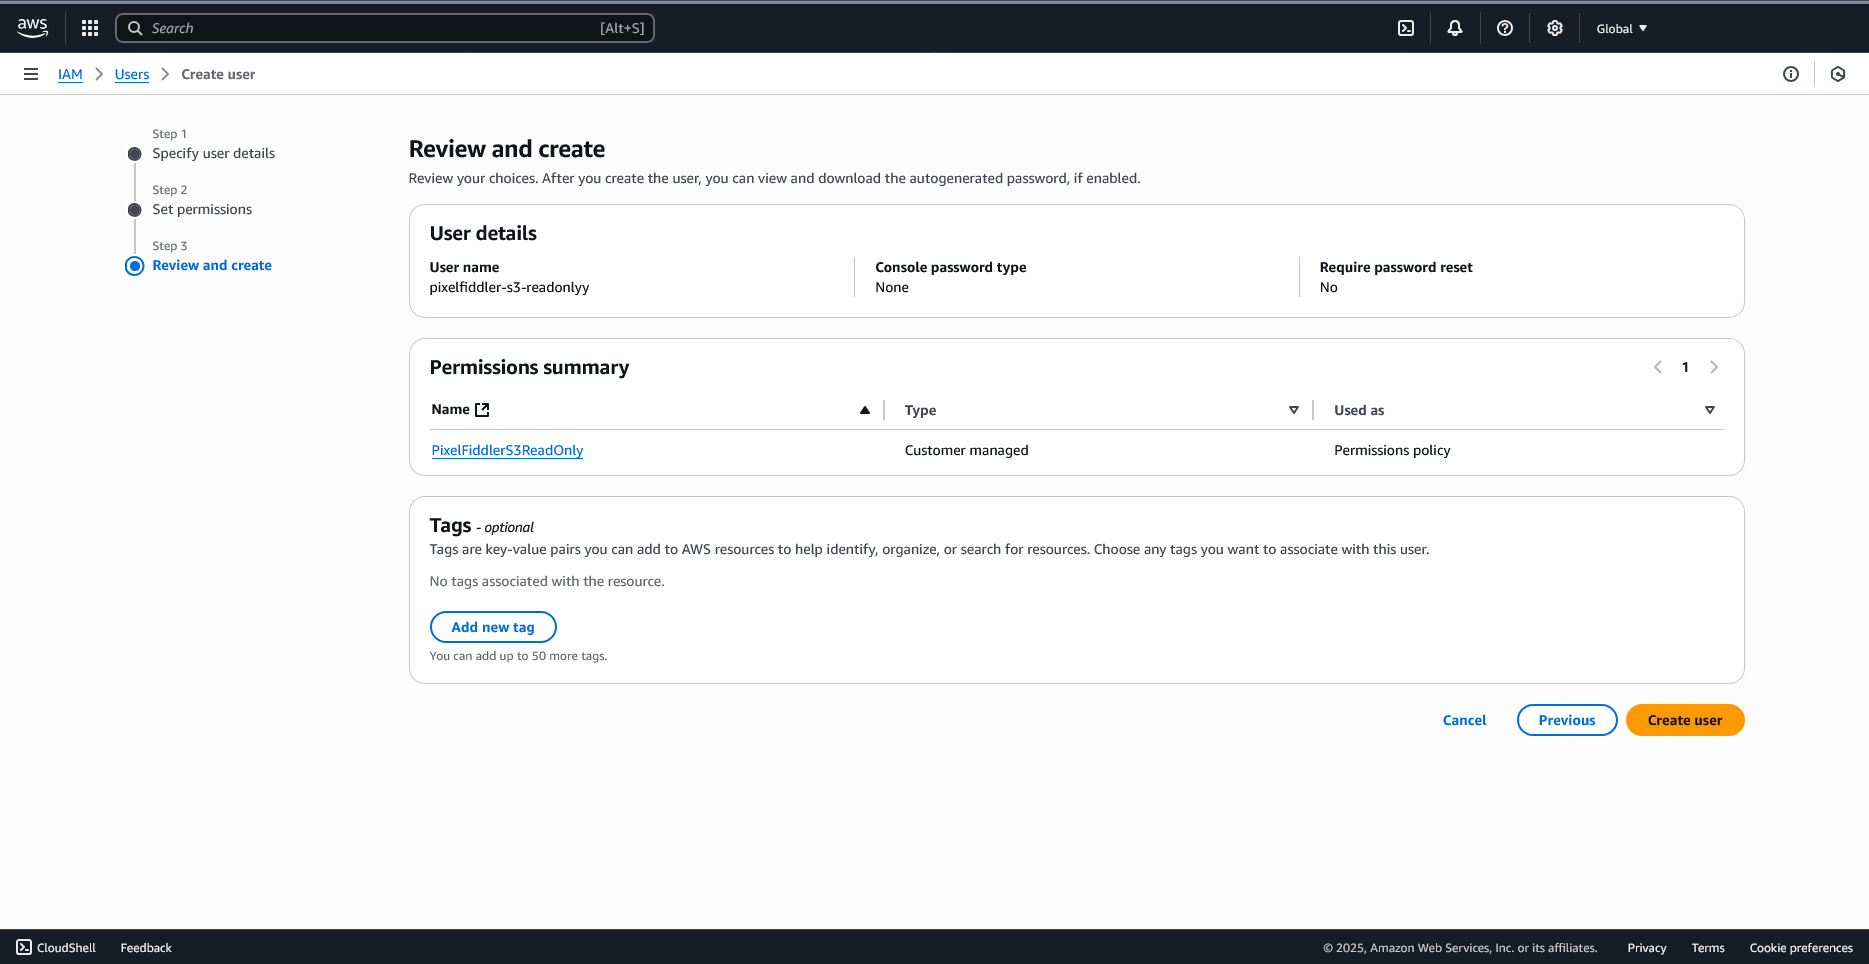
- Review and Create
- Review the user configuration
- Click “Create user”
Generate Access Keys
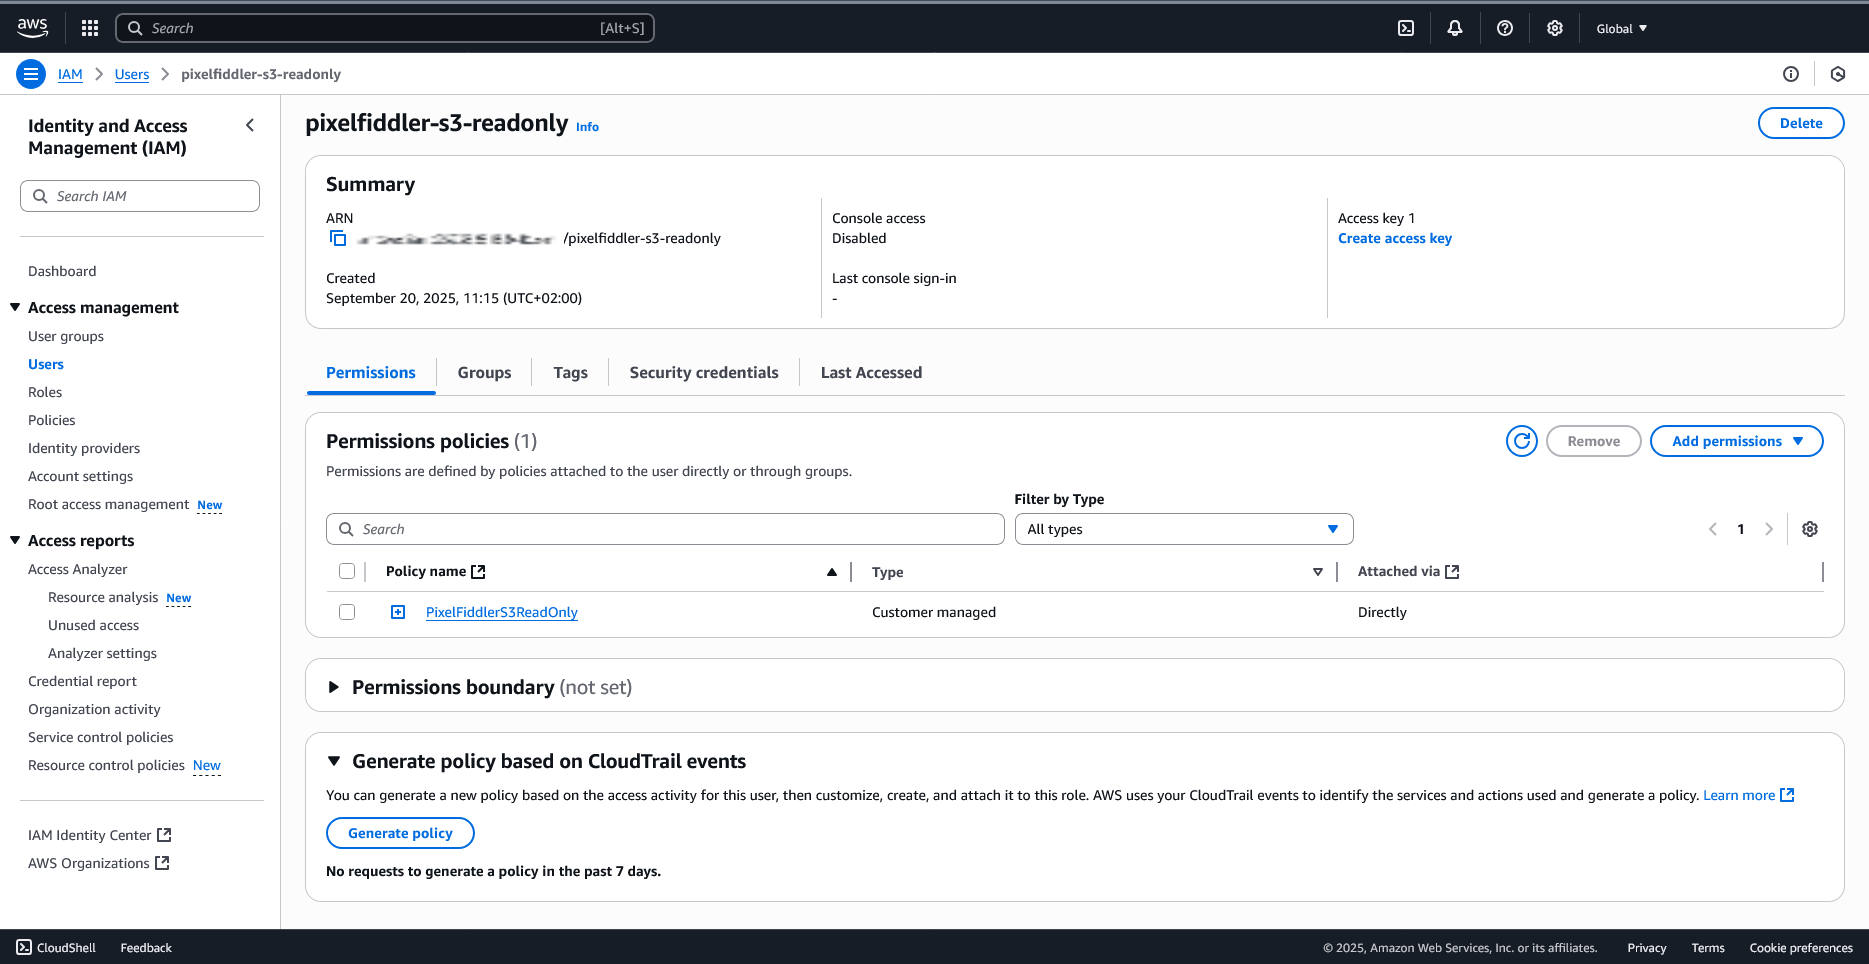
Section titled “Generate Access Keys”- Create Access Keys
- Click on the newly created username

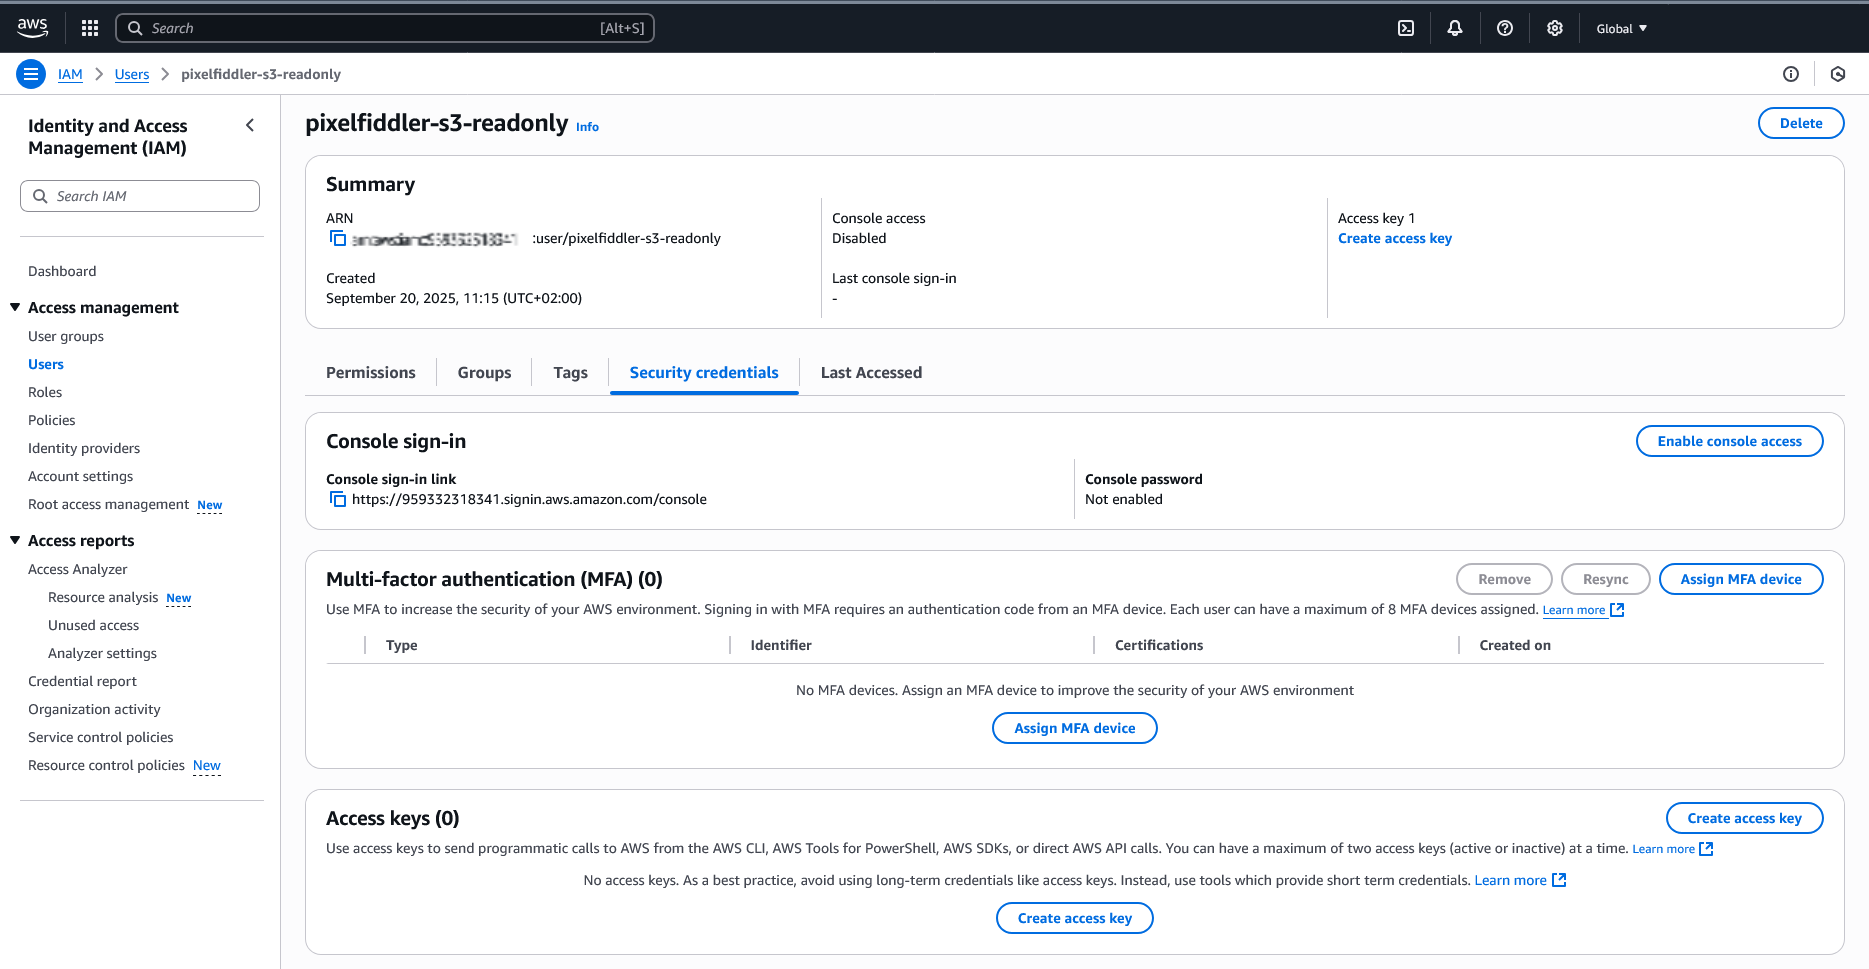
- Go to the “Security credentials” tab
- Scroll down to “Access keys”
- Click “Create access key”
- Choose “Application running outside AWS”
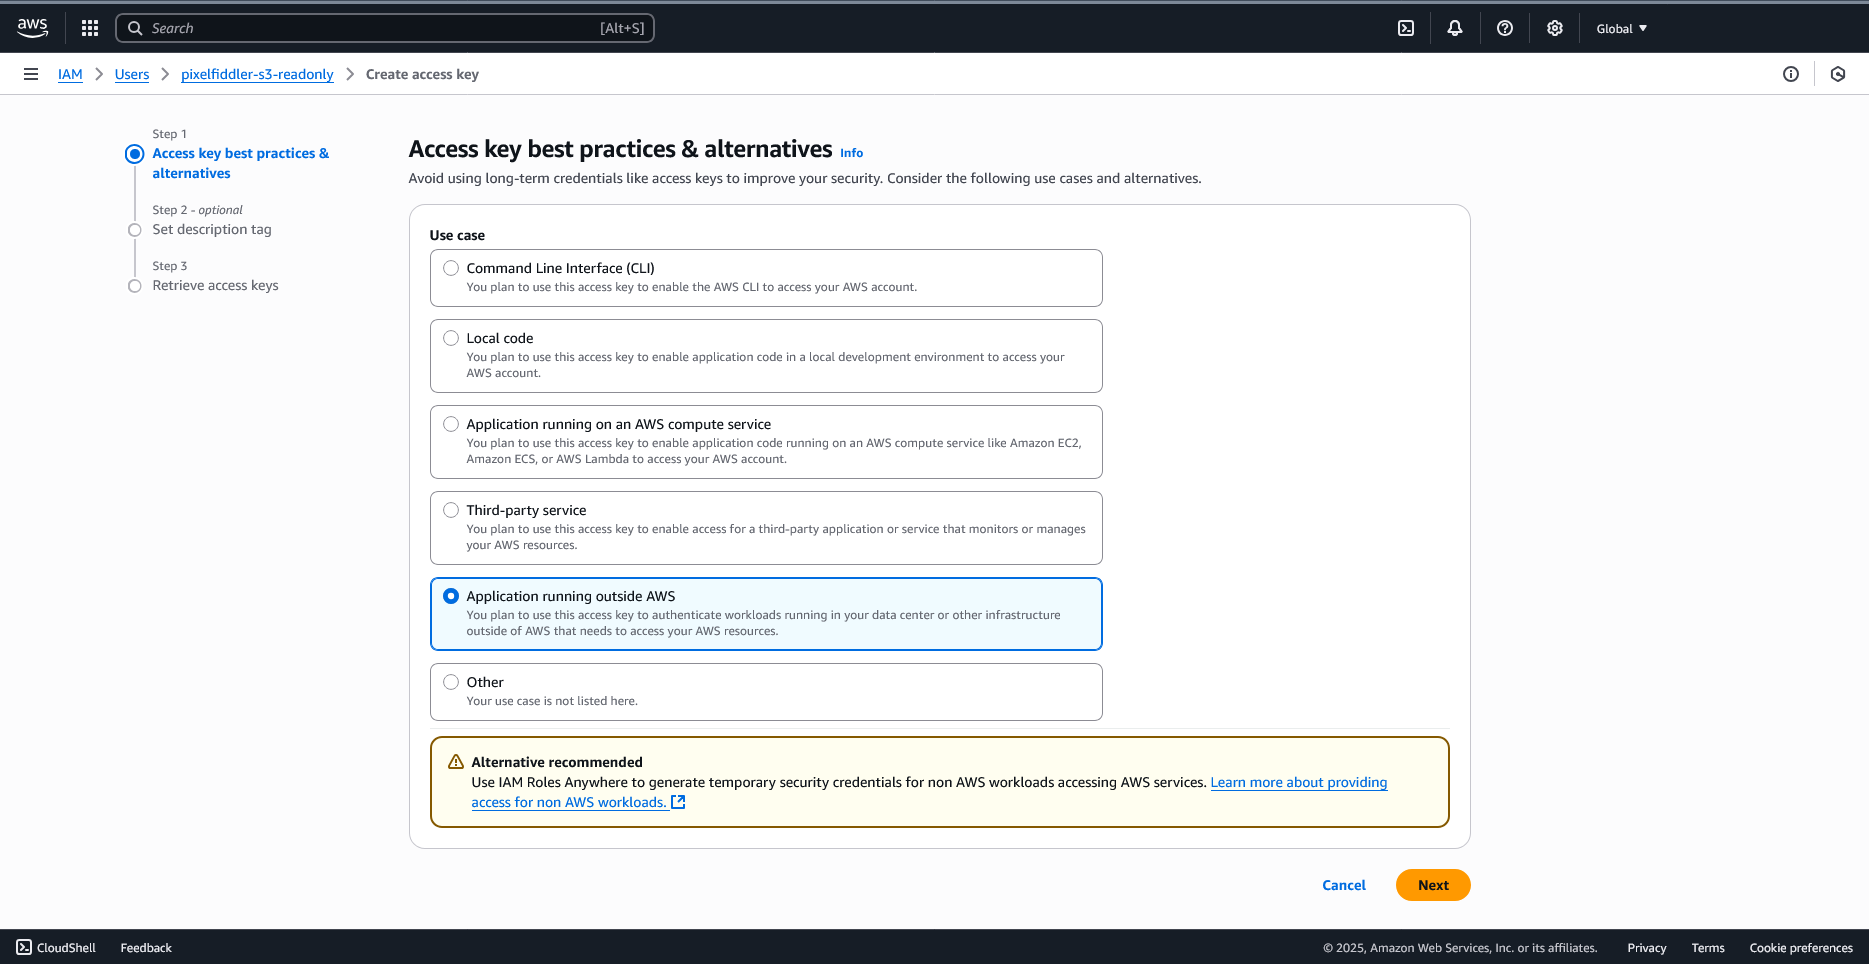
- Click “Next”
- Add description tag:
PixelFiddler S3 Access
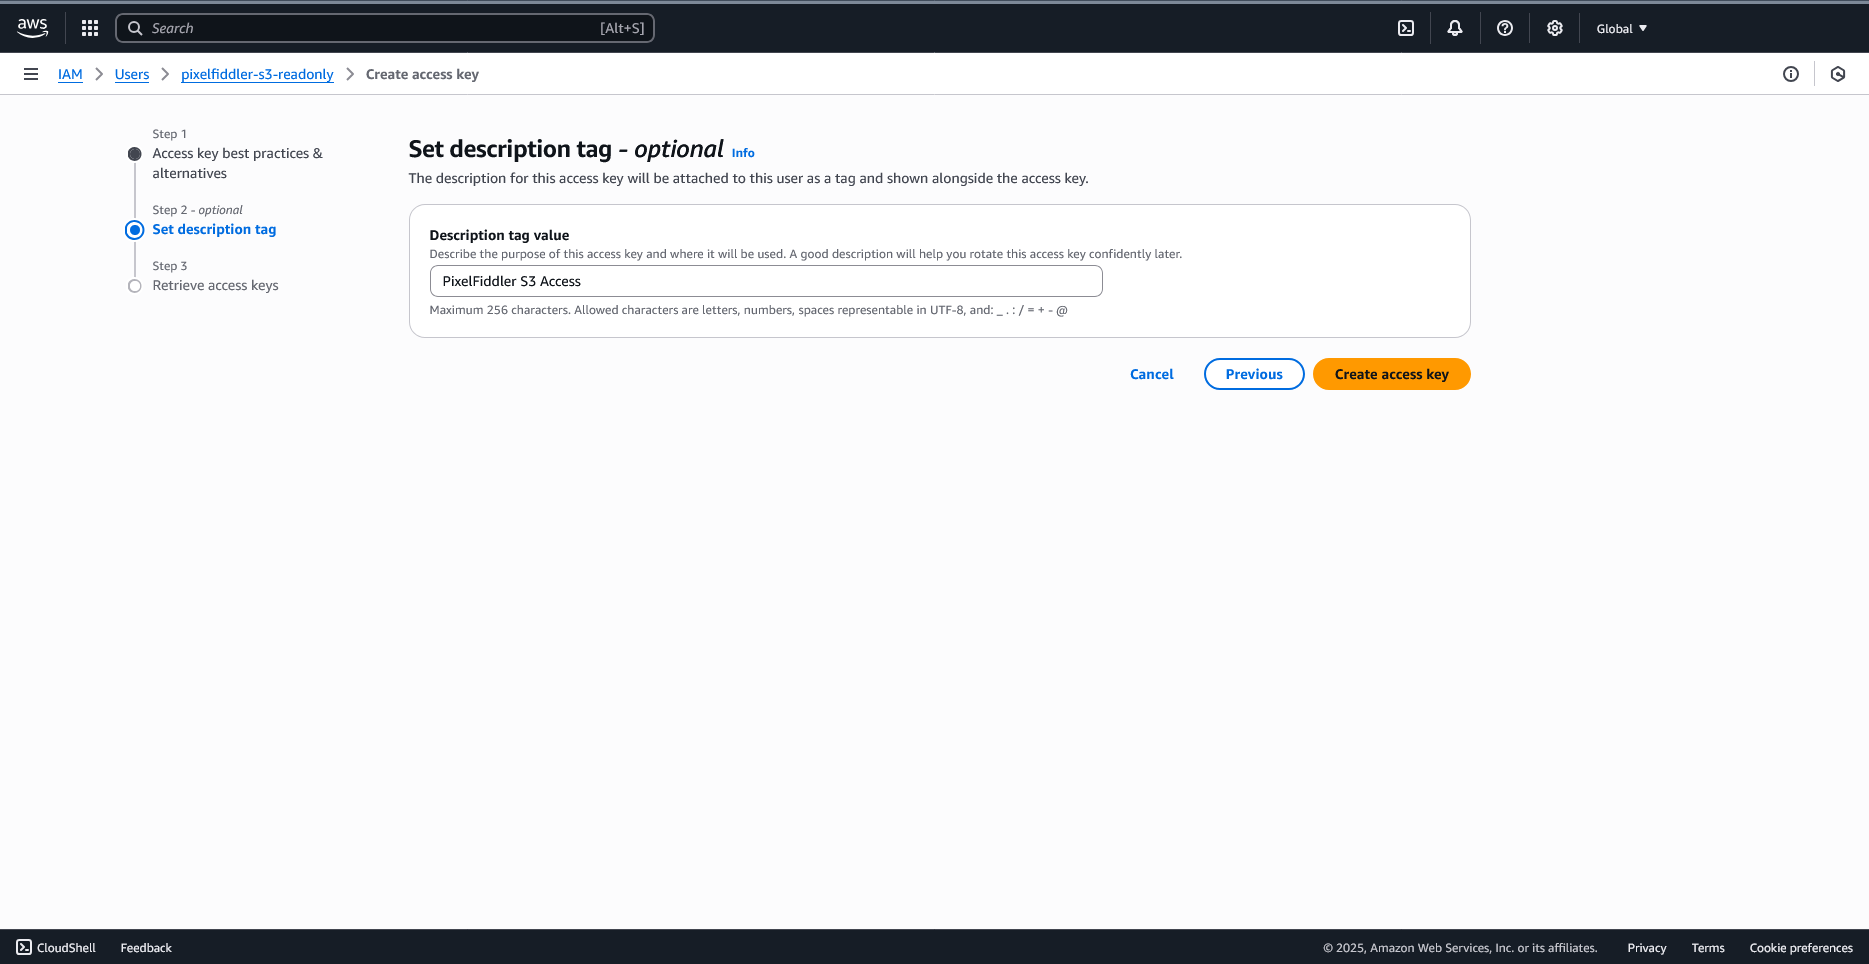
- Click “Create access key”
- Save both the Access Key ID and Secret Access Key

Step 2: Gather Required Information
Section titled “Step 2: Gather Required Information”Collect the following information for your S3 configuration:
| Field | Description | Example | Required |
|---|---|---|---|
| Bucket Name | Your S3 bucket name | my-product-images | ✅ Yes |
| Region | AWS region where your bucket is located | eu-top-1 | ✅ Yes |
| Access Key ID | From the IAM user you created | AKIAIOSFODNN7EXAMPLE | ✅ Yes |
| Secret Access Key | From the IAM user you created | wJalrXUtnFEMI/K7MDENG/... | ✅ Yes |
| Base URL | Custom S3 endpoint (see note below) | https://s3.amazonaws.com | ❌ No |
About Base URL
Section titled “About Base URL”For Standard Amazon S3 Buckets: Leave the baseUrl field empty or omit it entirely. PixelFiddler will automatically use the correct AWS S3 endpoints.
For S3-Compatible Services Only: Specify the base URL if you’re using services like:
- DigitalOcean Spaces:
https://nyc3.digitaloceanspaces.com - Wasabi:
https://s3.us-east-1.wasabisys.com - MinIO:
https://minio.mycompany.com
Step 3: Create Media Source in PixelFiddler
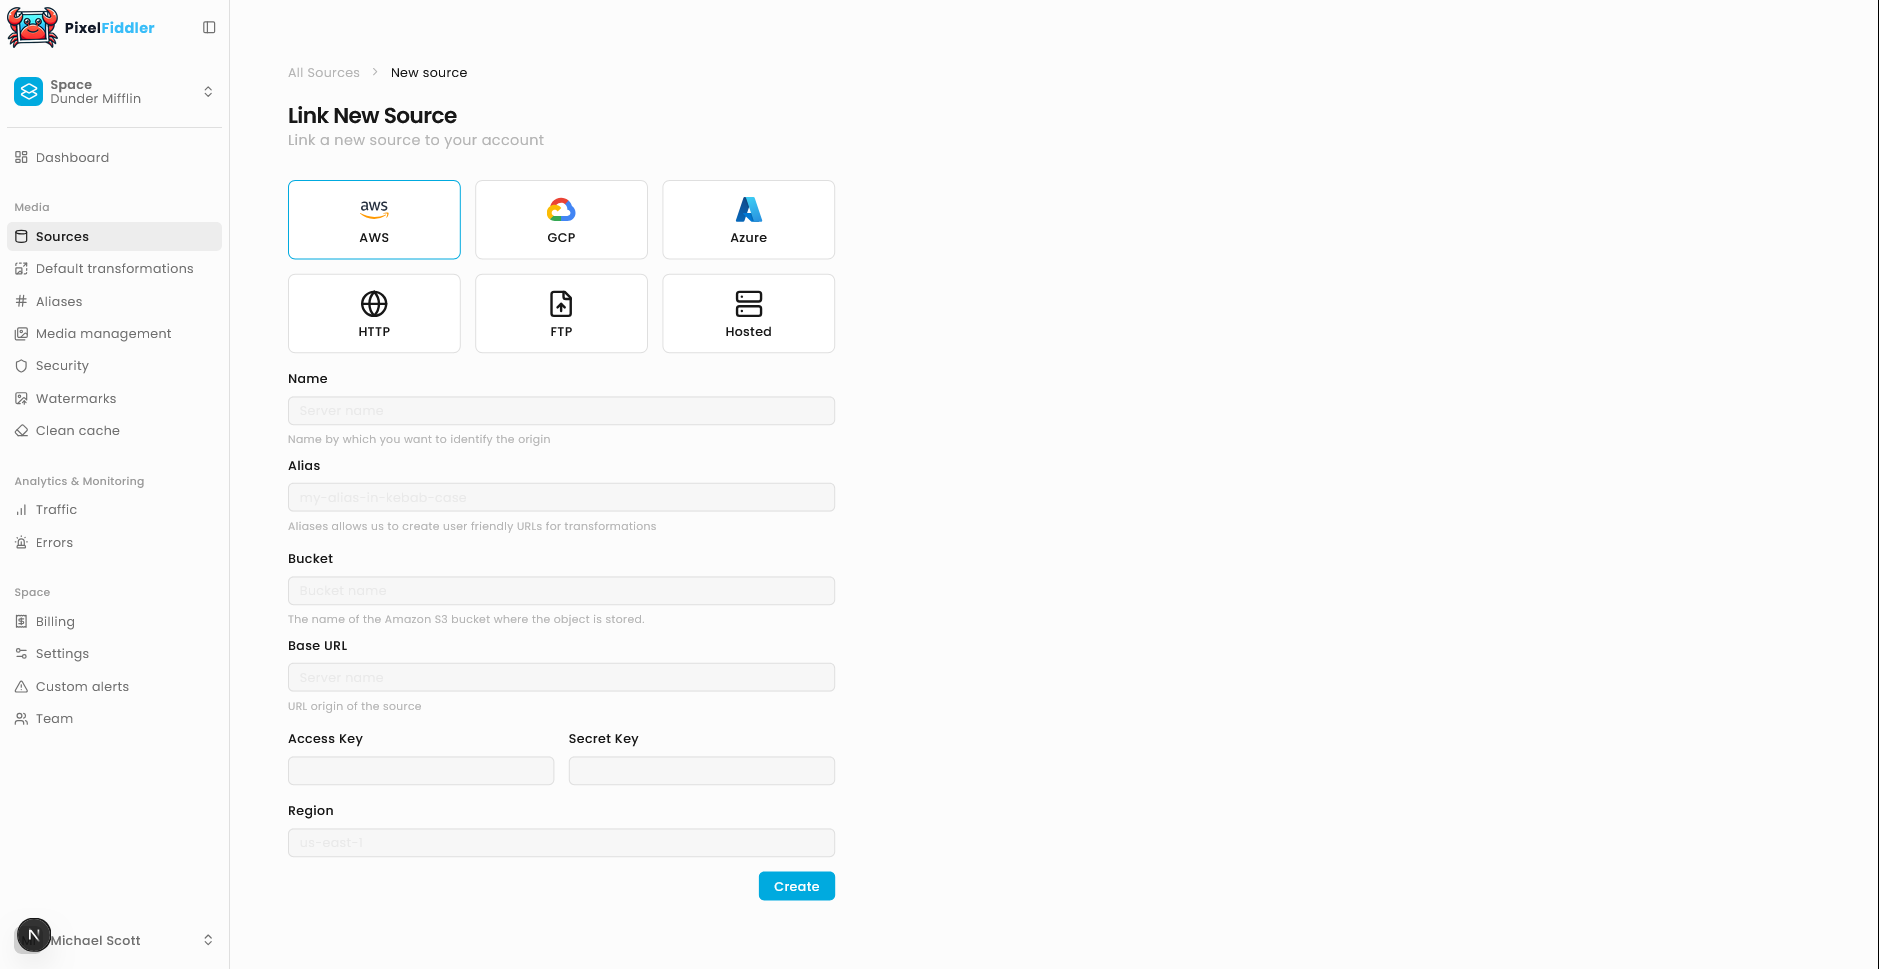
Section titled “Step 3: Create Media Source in PixelFiddler”Once your AWS setup is complete, you can link your S3 bucket to PixelFiddler:
- Navigate to your Sources page in the PixelFiddler dashboard
- Click “Link new source”
- Select S3 as your source type
- Fill in the connection details using the information from your AWS setup
Required Configuration
Section titled “Required Configuration”| Field | Description | Example |
|---|---|---|
| Name | Display name for your source | Product Gallery |
| Alias | Unique identifier (kebab-case) | product-gallery |
| Access Key ID | Your IAM user’s access key ID | AKIAIOSFODNN7EXAMPLE |
| Secret Access Key | Your IAM user’s secret access key | Keep this secure |
| Bucket | Your S3 bucket name | my-product-images |
| Region | AWS region code | us-east-1 |
Optional Configuration
Section titled “Optional Configuration”- Base URL: Custom S3 endpoint (only needed for S3-compatible services like MinIO or Wasabi)
Verifying Your Connection
Section titled “Verifying Your Connection”After clicking “Create”, PixelFiddler will attempt to connect to your S3 bucket:
✅ Success
Section titled “✅ Success”If the connection succeeds, you’ll see a confirmation message and can immediately:
- Browse your files in Media Management
- Start transforming images
❌ Connection Failed
Section titled “❌ Connection Failed”If you see an error message:
- Double-check your credentials:
- Verify the Access Key ID and Secret Access Key
- Ensure the bucket name is correct
- Confirm the region matches your bucket’s location
- Review IAM permissions:
- Make sure your IAM user has the required permissions
- Check that the bucket policy allows access from your IAM user