Azure blob storage
Learn how to connect your Azure Blob Storage containers to PixelFiddler for seamless media management and transformation.
Azure Blob Storage integration allows you to use your existing storage containers as media sources in PixelFiddler. Once connected, you can transform images directly from your containers without moving files, while benefiting from PixelFiddler’s CDN and caching capabilities.
Prerequisites
Section titled “Prerequisites”Before connecting Azure Blob Storage, ensure you have:
- An Azure account with an active subscription
- An Azure Storage Account with blob containers
- Access to the Azure portal or Azure CLI
- Basic familiarity with Azure storage concepts
Quick Setup
Section titled “Quick Setup”- Create or locate your Azure Storage Account
- Get your access keys from the Azure portal
- Add the media source in PixelFiddler
- Test the connection with a sample file
Step 1: Set Up Azure Storage Account
Section titled “Step 1: Set Up Azure Storage Account”Create a New Storage Account (if needed)
Section titled “Create a New Storage Account (if needed)”If you don’t have a storage account yet:
- Navigate to the Azure Portal

- Click “Create a resource”
- Search for and select “Storage account”

- Click “Create”
Configure Storage Account Settings
Section titled “Configure Storage Account Settings”Fill in the required information:
| Setting | Recommended Value | Description |
|---|---|---|
| Subscription | Your subscription | Choose your active Azure subscription |
| Resource Group | Create new or existing | Logical grouping for your resources |
| Storage account name | pixelfiddlermedia | Must be globally unique, 3-24 characters |
| Region | Closest to your users | Choose region for optimal performance |
| Performance | Standard | Standard is sufficient for most use cases |
| Redundancy | LRS or ZRS | Choose based on your availability needs |

Create a Container
Section titled “Create a Container”After your storage account is created:
- Navigate to your storage account in the Azure portal
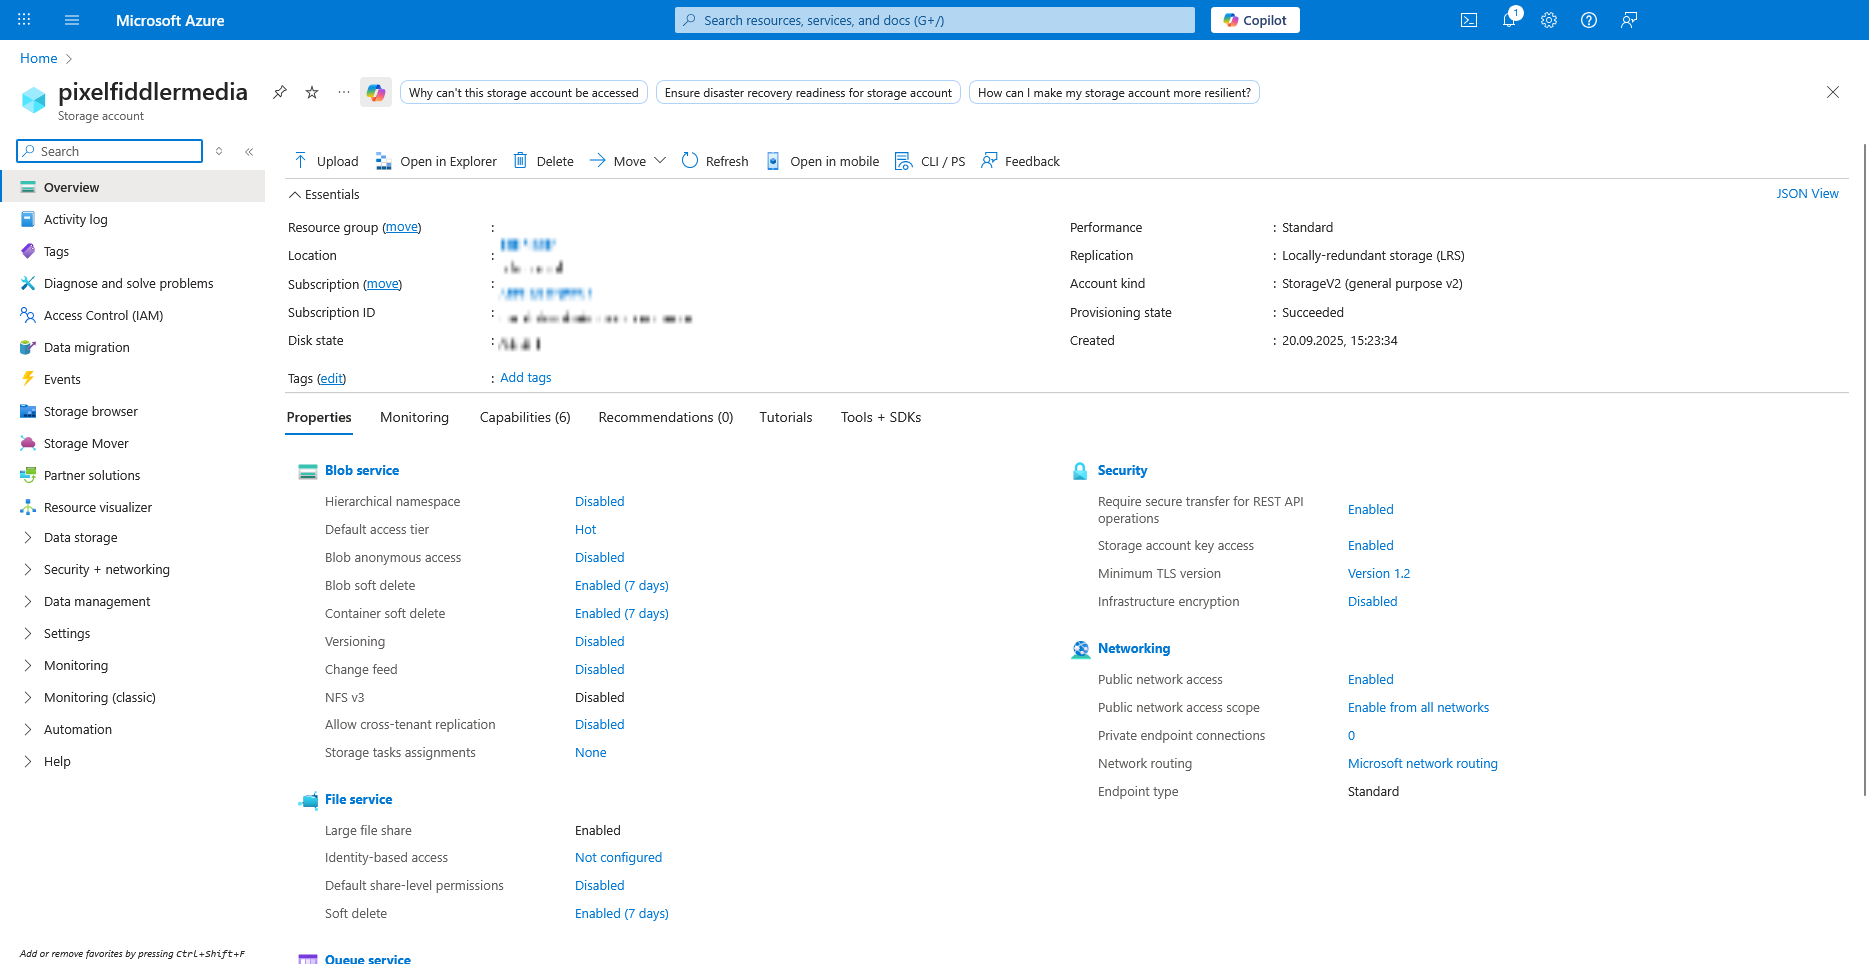
- In the left menu, click “Containers” under Data storage

- Click ”+ Container”
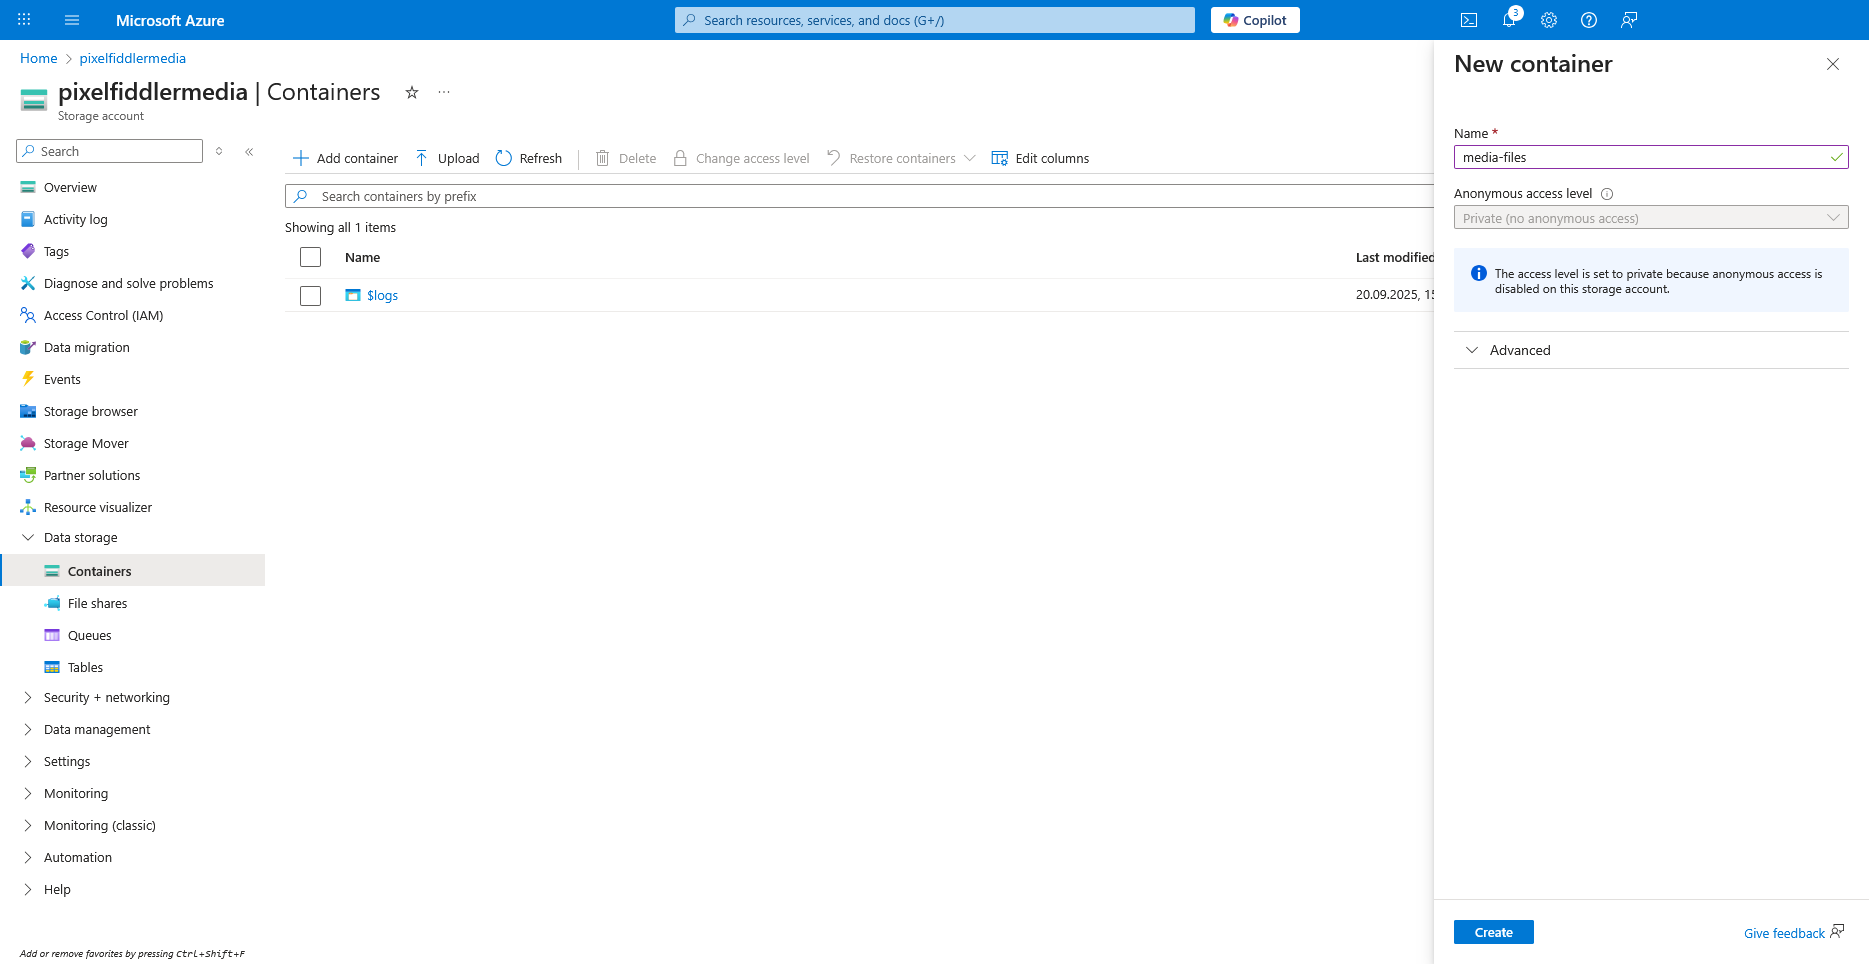
- Enter a container name (e.g.,
media-files) - Set Public access level to “Private” (recommended for security)
- Click “Create”
Get Your Access Keys
Section titled “Get Your Access Keys”- In your storage account, go to “Access keys” under Security + networking

- Click “Show keys”
- Copy the following information:
- Storage account name
- Key1 (or Key2) - the long access key string
Step 2: Create Media Source in PixelFiddler
Section titled “Step 2: Create Media Source in PixelFiddler”Once your Azure setup is complete, you can link your blob storage container to PixelFiddler:
- Navigate to your Sources page in the PixelFiddler dashboard
- Click “Link new source”
- Select Azure Blob Storage as your source type
- Fill in the connection details using the information from your Azure setup

Required Configuration
Section titled “Required Configuration”| Field | Description | Example |
|---|---|---|
| Name | Display name for your source | Product Gallery |
| Alias | Unique identifier (kebab-case) | product-gallery |
| Account Name | Your Azure storage account name | pixelfiddlermedia |
| Account Key | Your storage account access key | Keep this secure |
| Container | Your blob container name | media-files |
Optional Configuration
Section titled “Optional Configuration”- Base URL: Custom Azure Blob Storage endpoint (only needed for development with emulators like Azurite)
Verifying Your Connection
Section titled “Verifying Your Connection”After clicking “Create”, PixelFiddler will attempt to connect to your Azure Blob Storage container:
✅ Success
Section titled “✅ Success”If the connection succeeds, you’ll see a confirmation message and can immediately:
- Browse your files in Media Management
- Start transforming images
❌ Connection Failed
Section titled “❌ Connection Failed”If you see an error message:
- Double-check your credentials:
- Verify the storage account name is correct
- Ensure the account key is complete and accurate
- Confirm the container name exists and is spelled correctly
- Review access permissions:
- Make sure the account key has full permissions
- Check that the container exists in the specified storage account
- Verify there are no firewall rules blocking access
- Test storage access:
- Try accessing the container directly in Azure portal
- Ensure the container contains some test files
- Check if there are any network restrictions on the storage account